Teaching kids how to tell time, or just looking for a fun, hands-on weekend project? Making your own paper clock is a fantastic, budget-friendly way to combine creativity with learning. Whether for a classroom activity, homeschooling, or simply a rainy day at home, a handmade clock adds a personal touch to education.

In this guide, you will find everything you need to build your own vibrant timepiece, including a link to our free printable template and simple instructions to get you started.
Why Choose a Printable Paper Clock Project?
Crafting with paper isn’t just fun—it also helps develop fine motor skills, spatial awareness, and patience. When it comes to learning how to read an analog clock, a physical model that hands can actually move makes the concept much easier to grasp.
Our exclusive template is designed with versatility in mind, featuring:
- Multiple Design Options: Choose from a variety of bright, colorful clock faces to match your style.
- Beginner-Friendly Layout: Clear markings that make cutting and assembly stress-free.
- Educational Value: Perfect for parents and teachers looking for an interactive visual aid.
Tools and Materials You Will Need
Before you begin, gather these basic crafting supplies. You likely already have most of them at home!
- The Paper Clock Template: (Download link provided below).
- Printer: A color printer is highly recommended to capture the vibrant hues of the clock faces.
- Paper or Cardstock: Standard printer paper works fine, but heavy cardstock provides extra durability.
- Scissors: For precise cutting of the clock base and hands.
- A Ruler: Essential for scoring straight lines and ensuring crisp folds.
- Glue or Double-Sided Tape: A standard glue stick or school glue is perfect for assembly.
- Optional (Split Pin/Brad): If you want the clock hands to actually rotate, a small metal paper fastener works best.
Step-by-Step Assembly Instructions
Don’t worry if you aren’t an expert crafter. The downloadable PDF includes detailed, foolproof visual instructions to guide you through the gluing process. Here is a quick overview of how easily it comes together:
1. Download and Print
Click the download link below to save the file. For the best visual results, print the template on high-quality setting using your favorite color variant from the package.
2. Cut Out the Pieces
Carefully cut along the solid outer lines of the clock face, hour hand, and minute hand. Use your ruler as a guide where necessary to ensure perfectly straight edges.
3. Assemble and Secure
Follow the alignment guides included in the download. Apply a small amount of glue to the designated tabs to construct the base. If you are using a split pin, pierce the center of the clock face and the hands so they can turn freely.
Download Your Free Paper Clock Template Here
Ready to start crafting? Click the link below to download the high-resolution, print-ready PDF file.
Download paper clock template
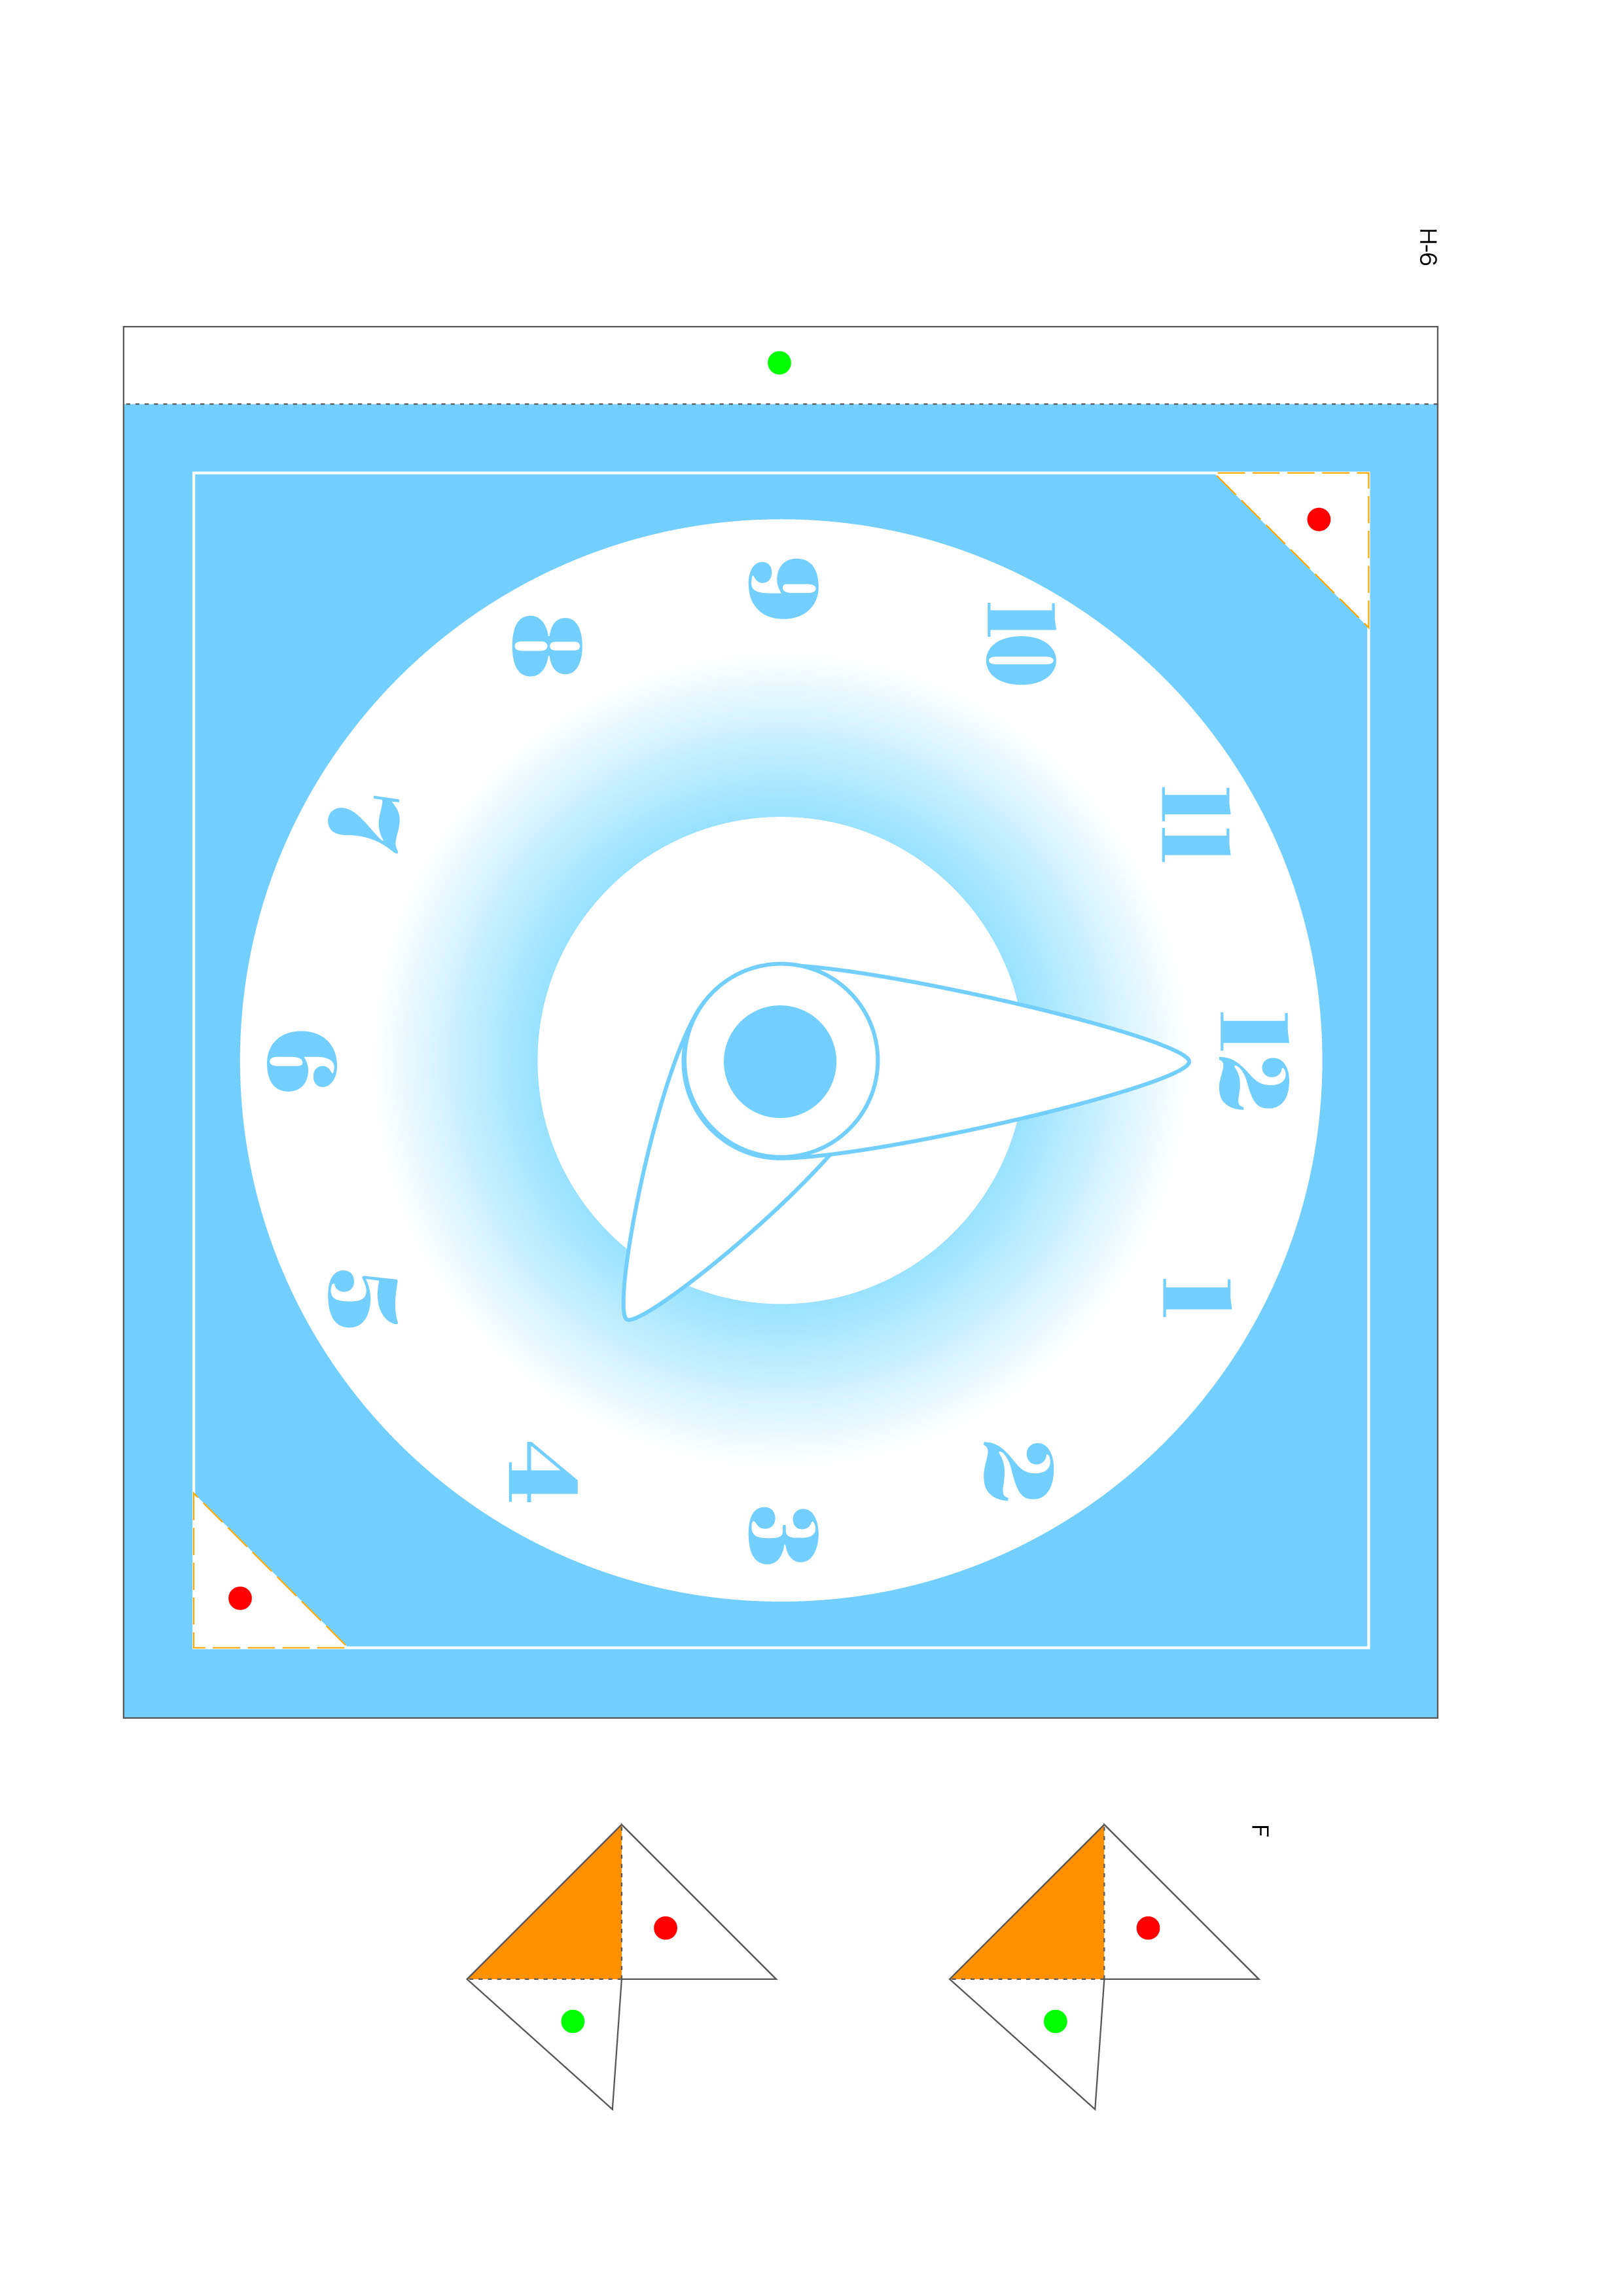 Template 01
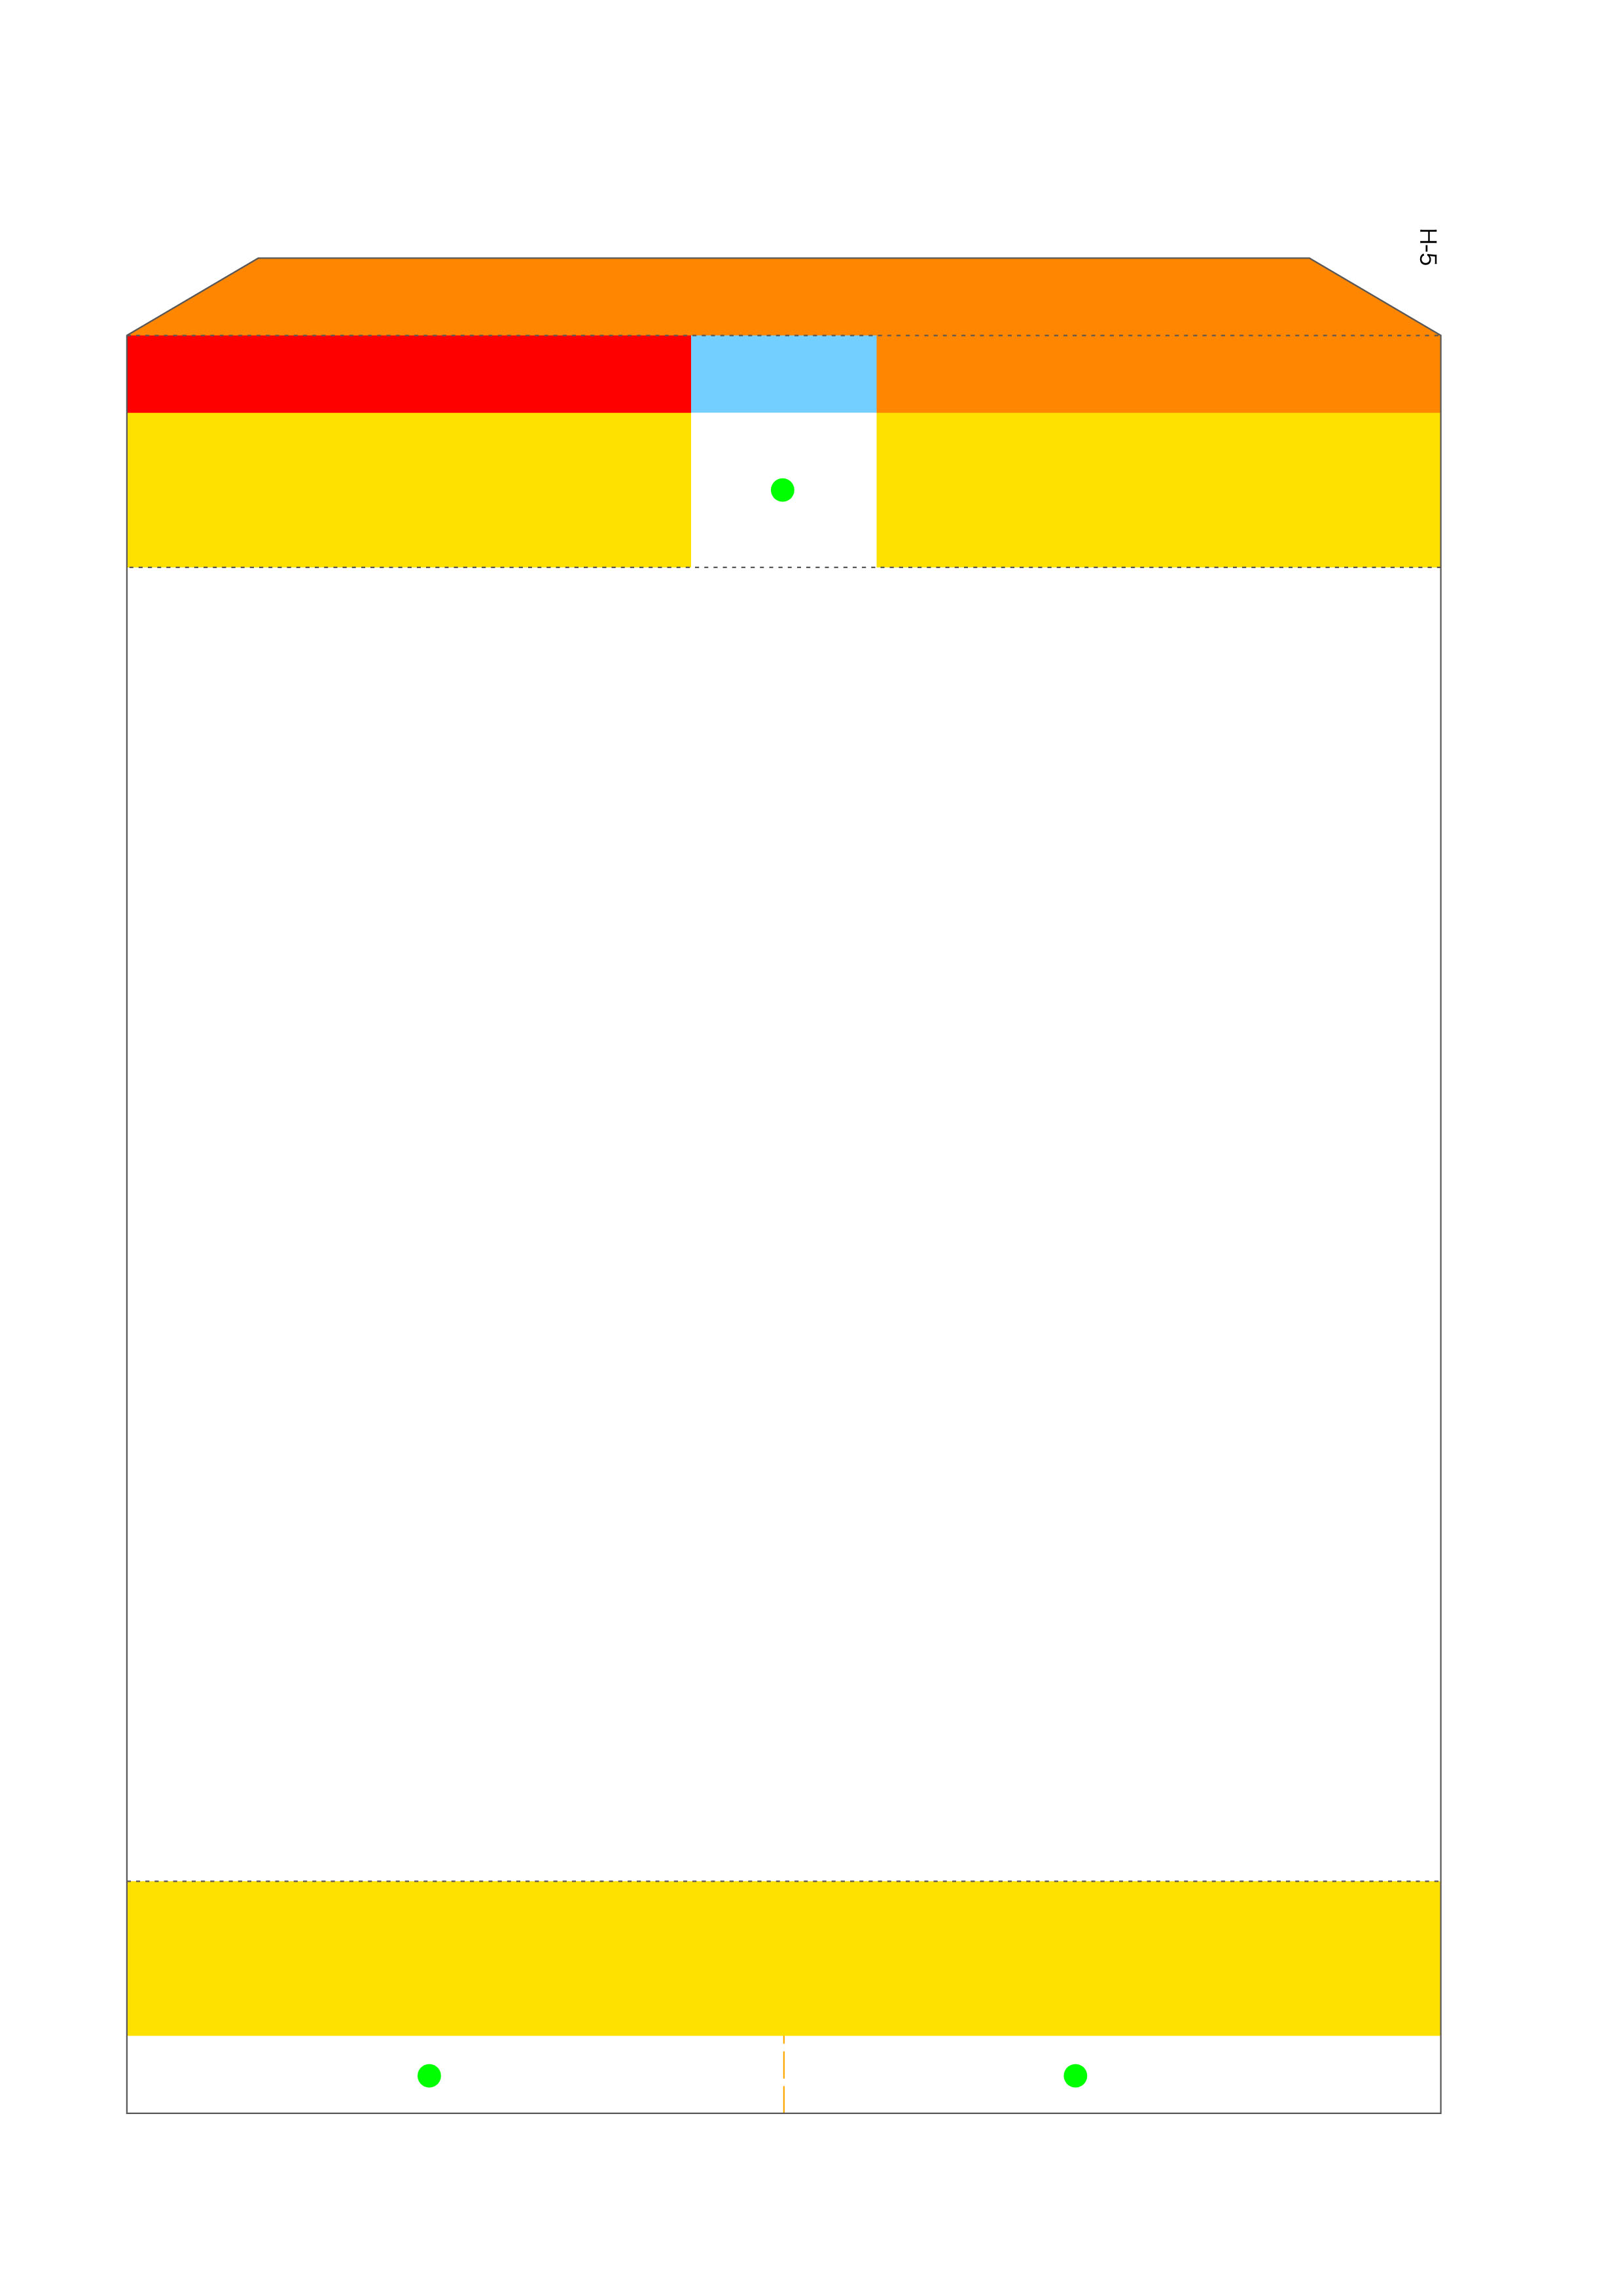 Template 02
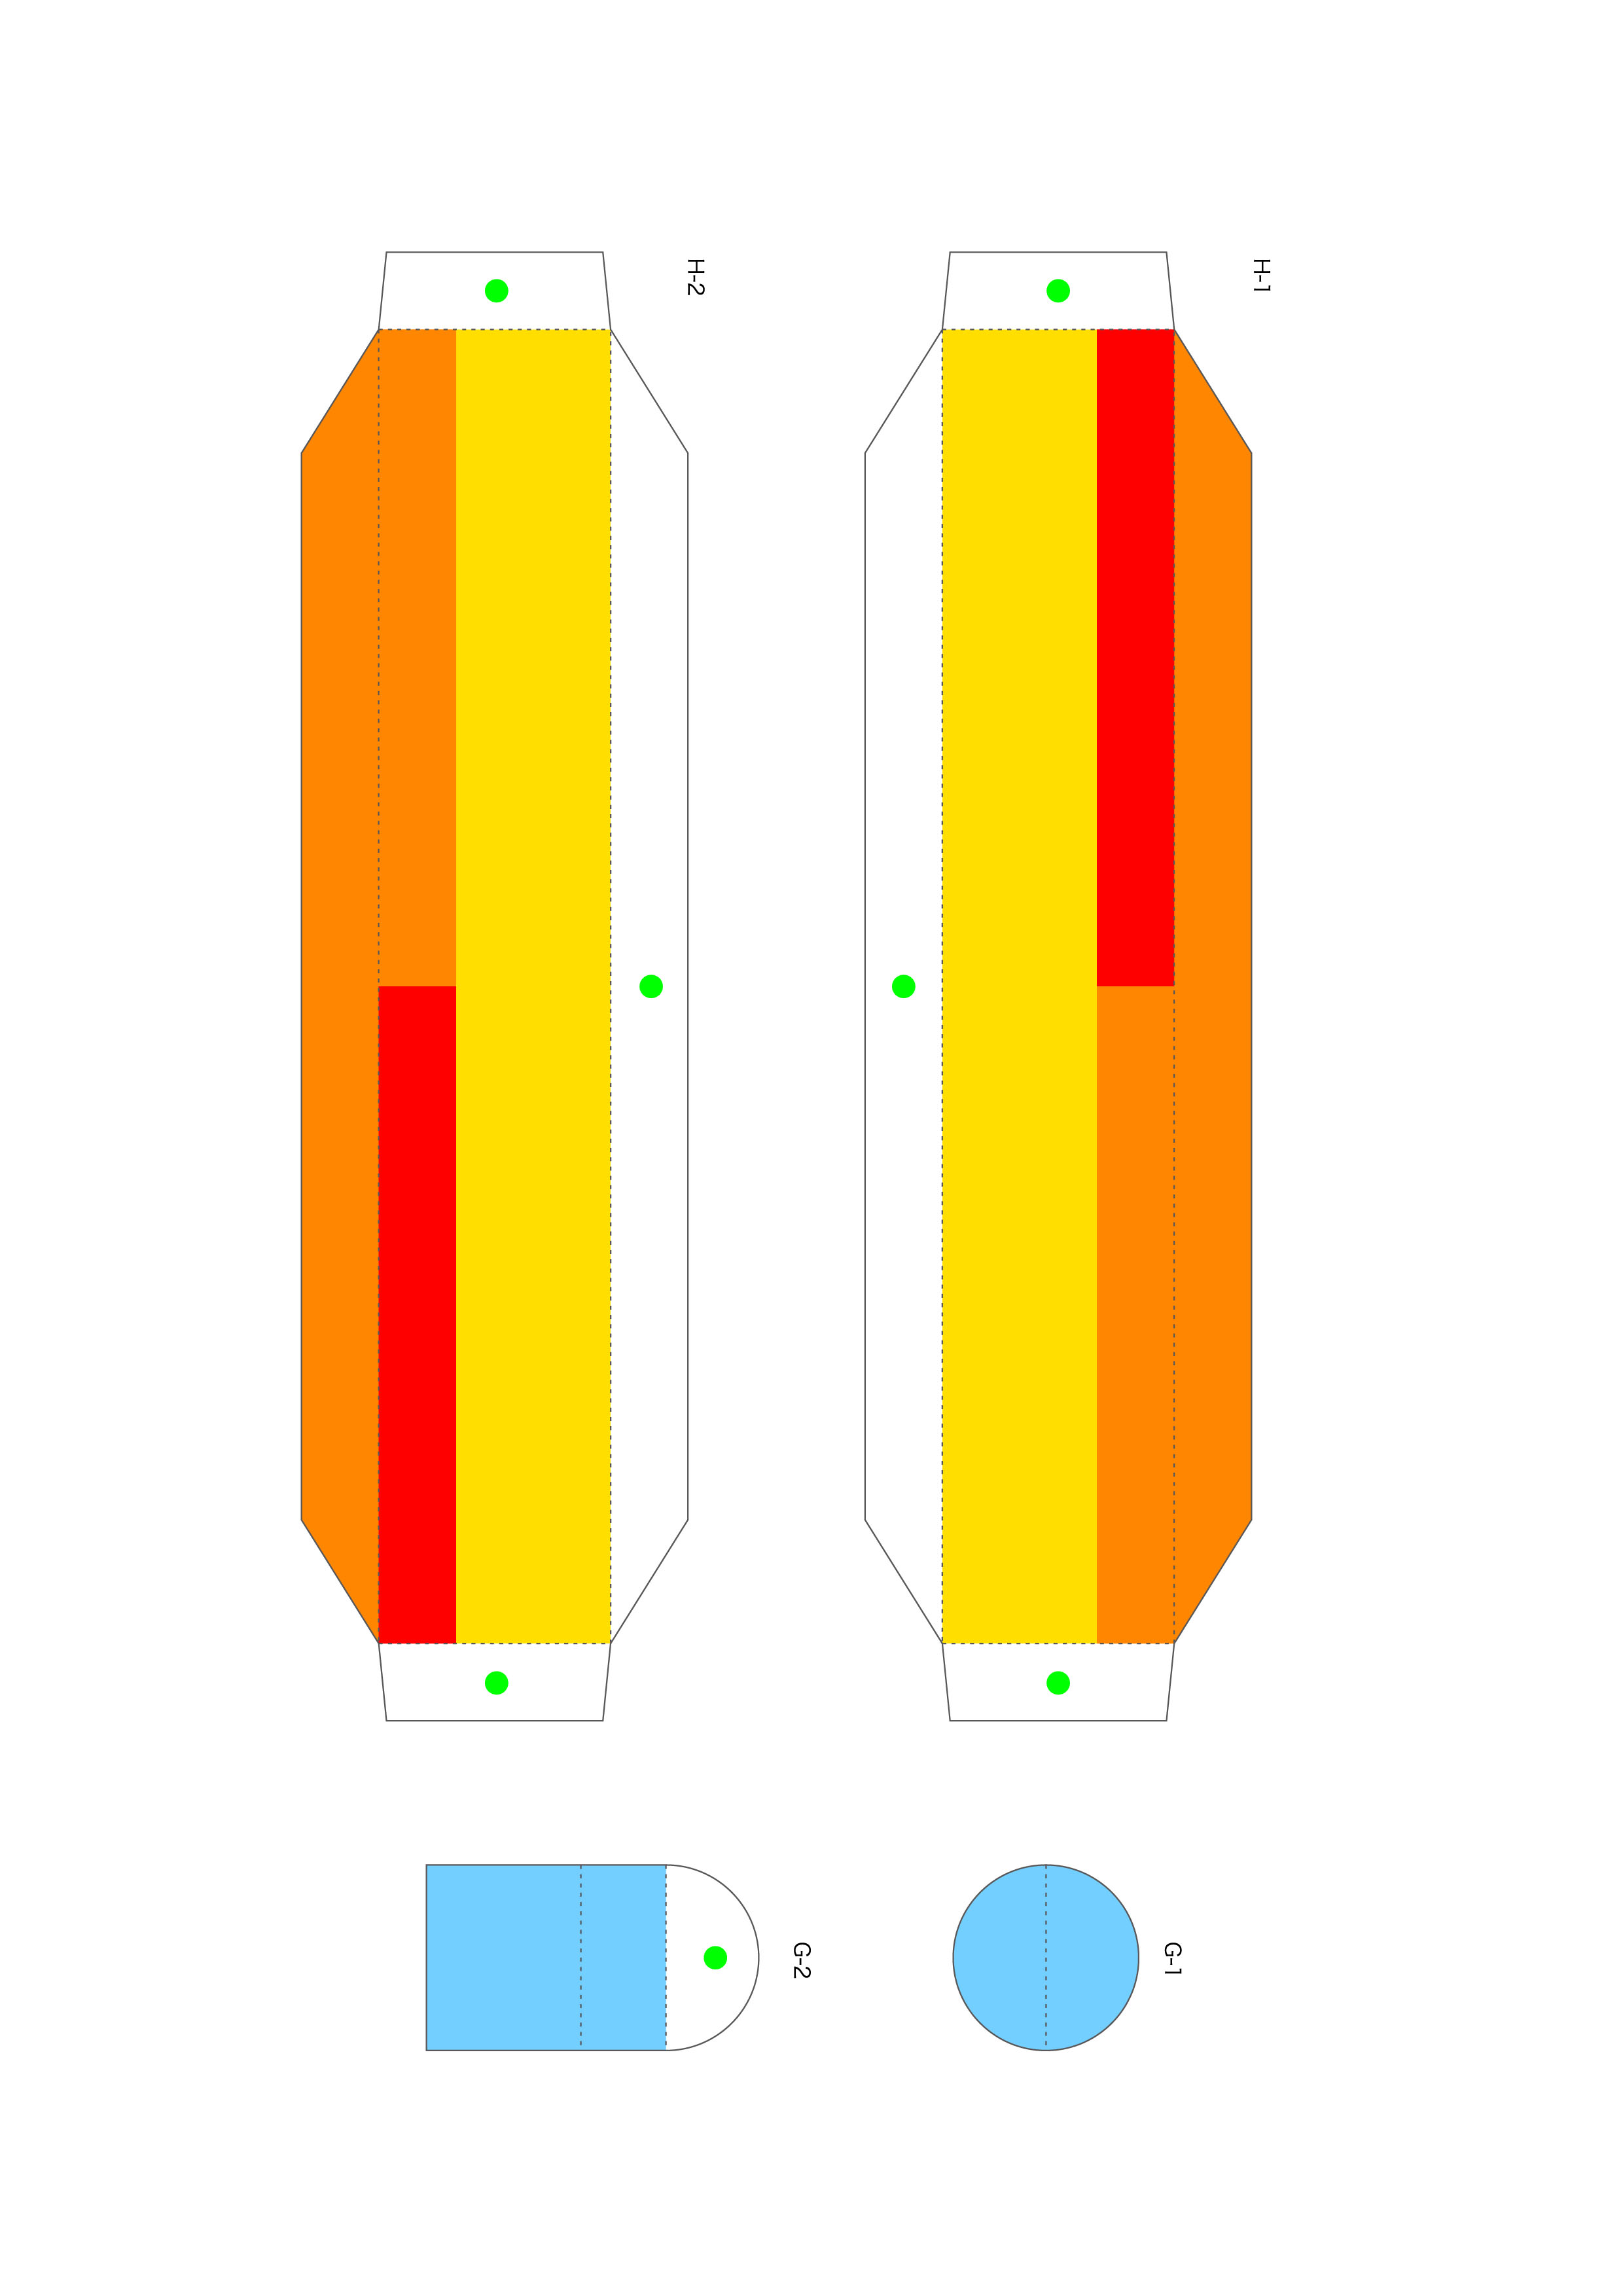 Template 03
 Template 04
 Template 05
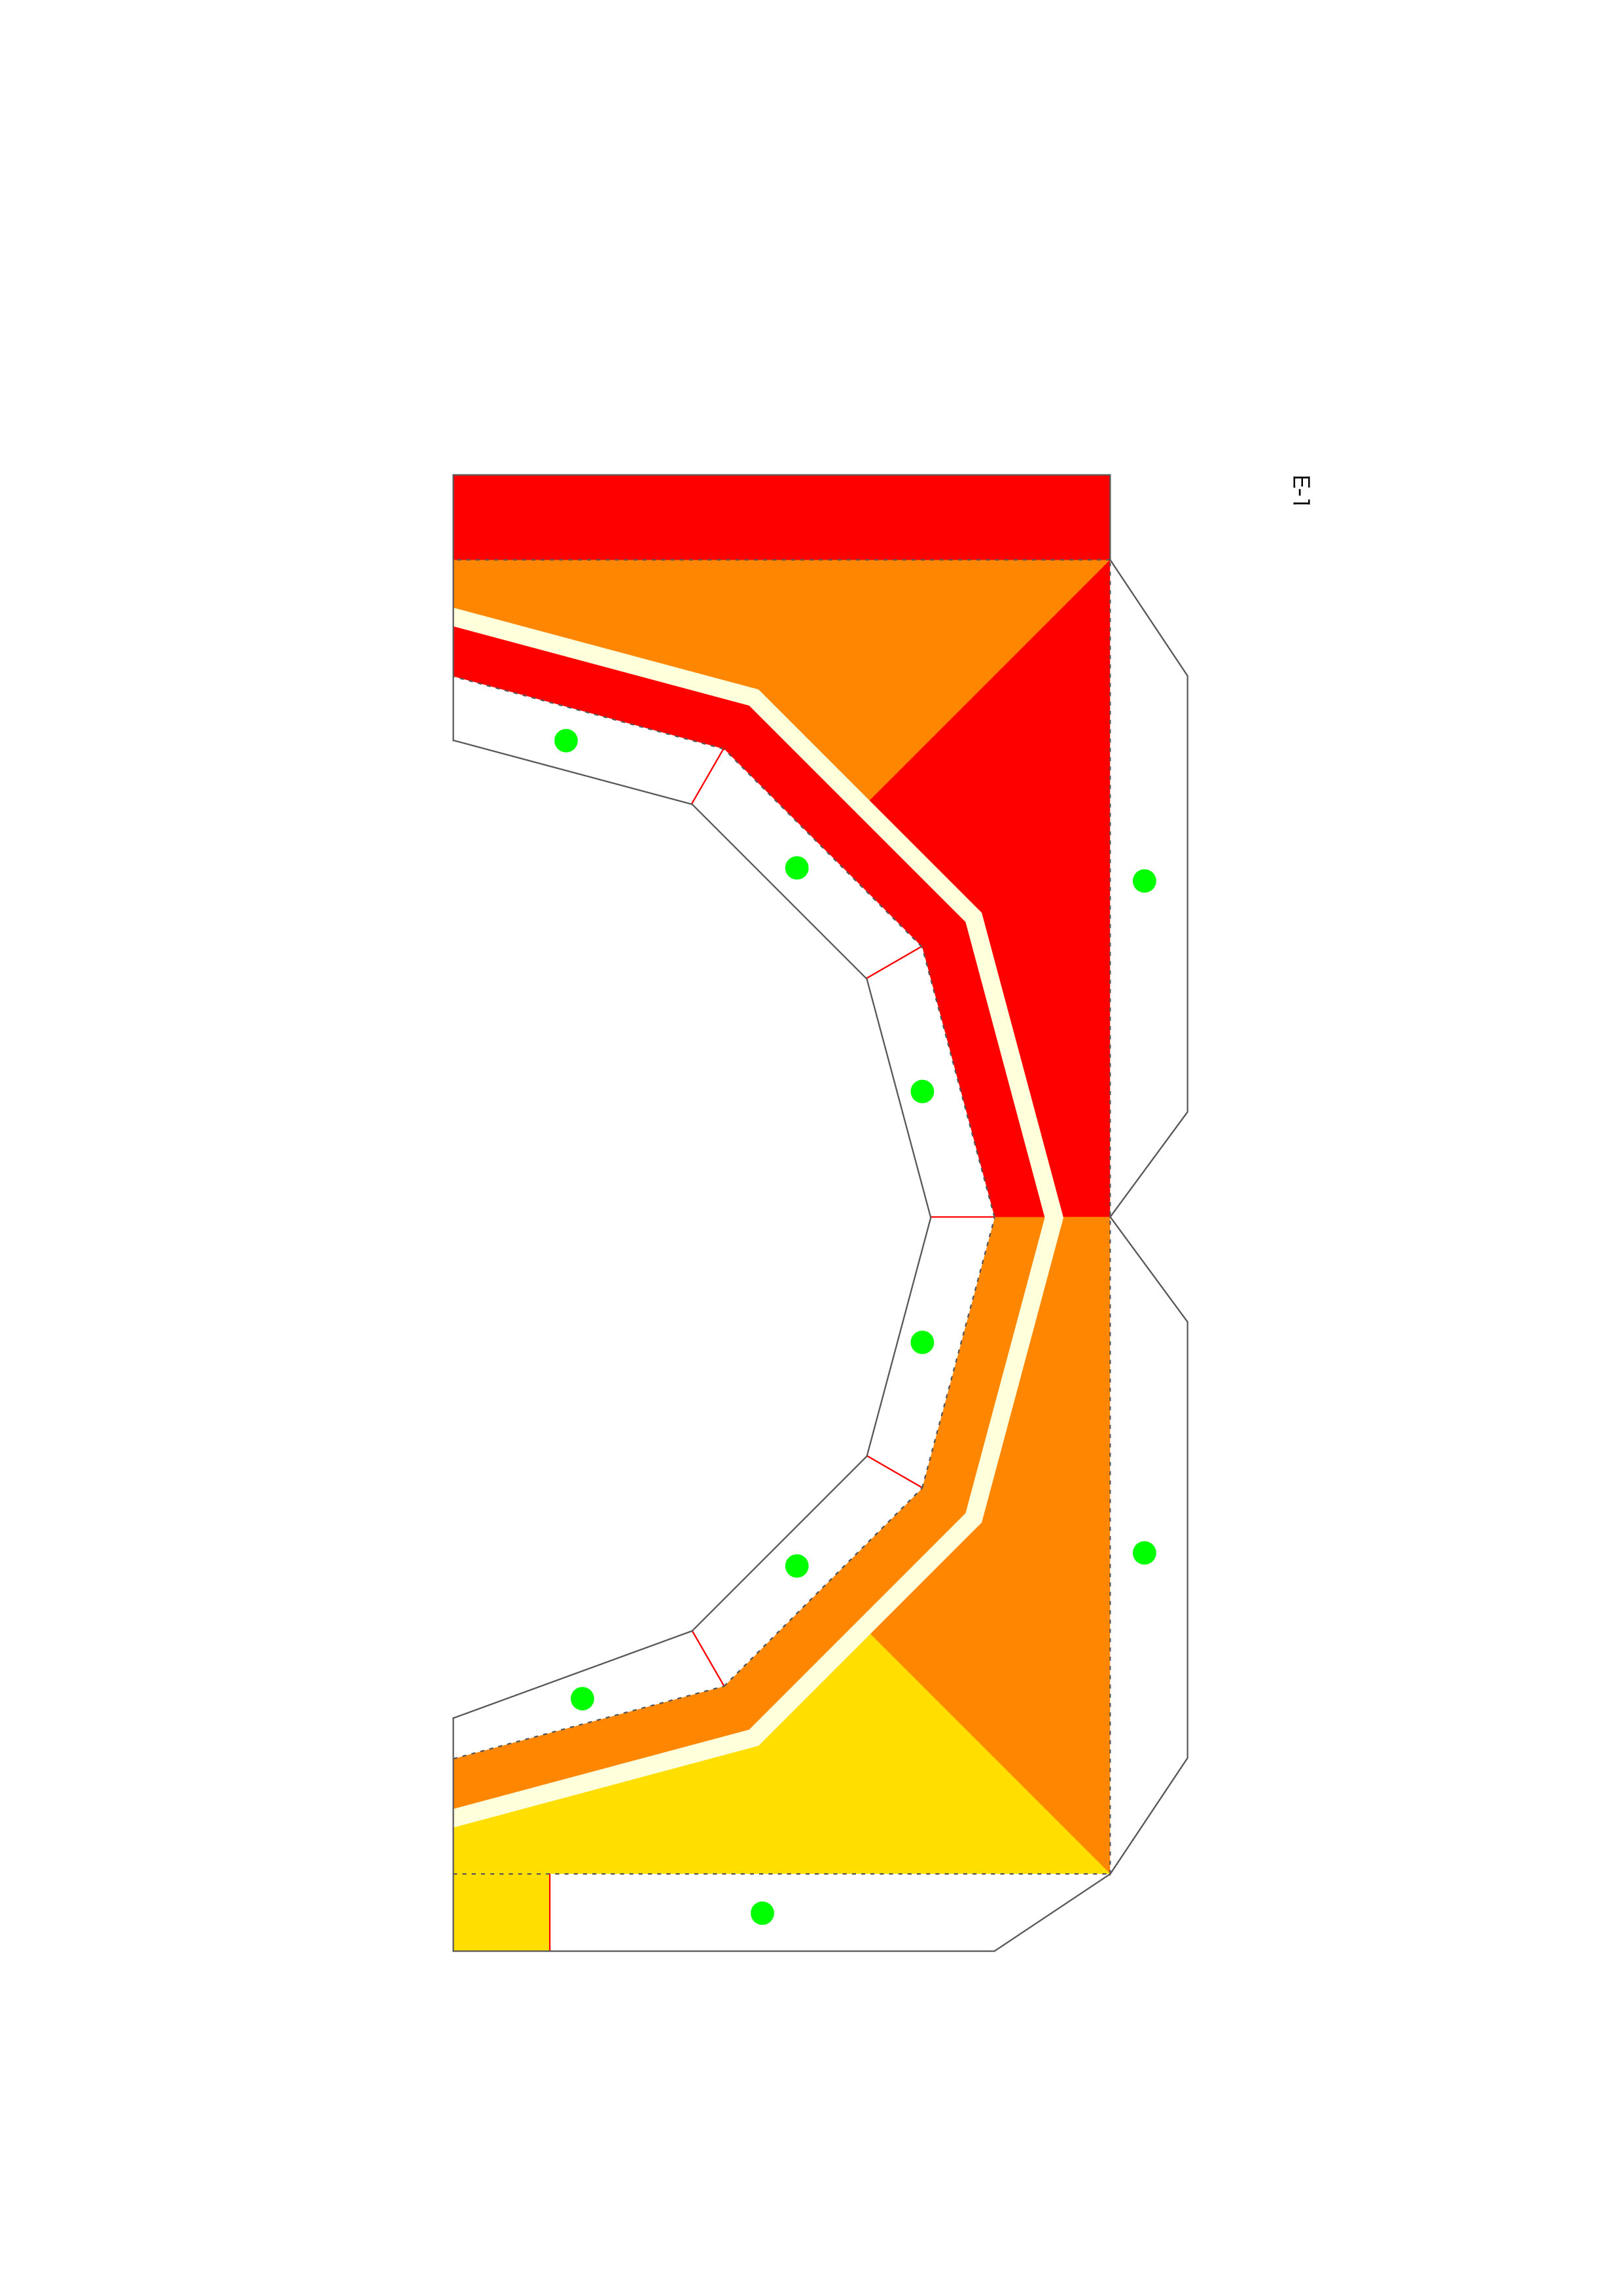 Template 06
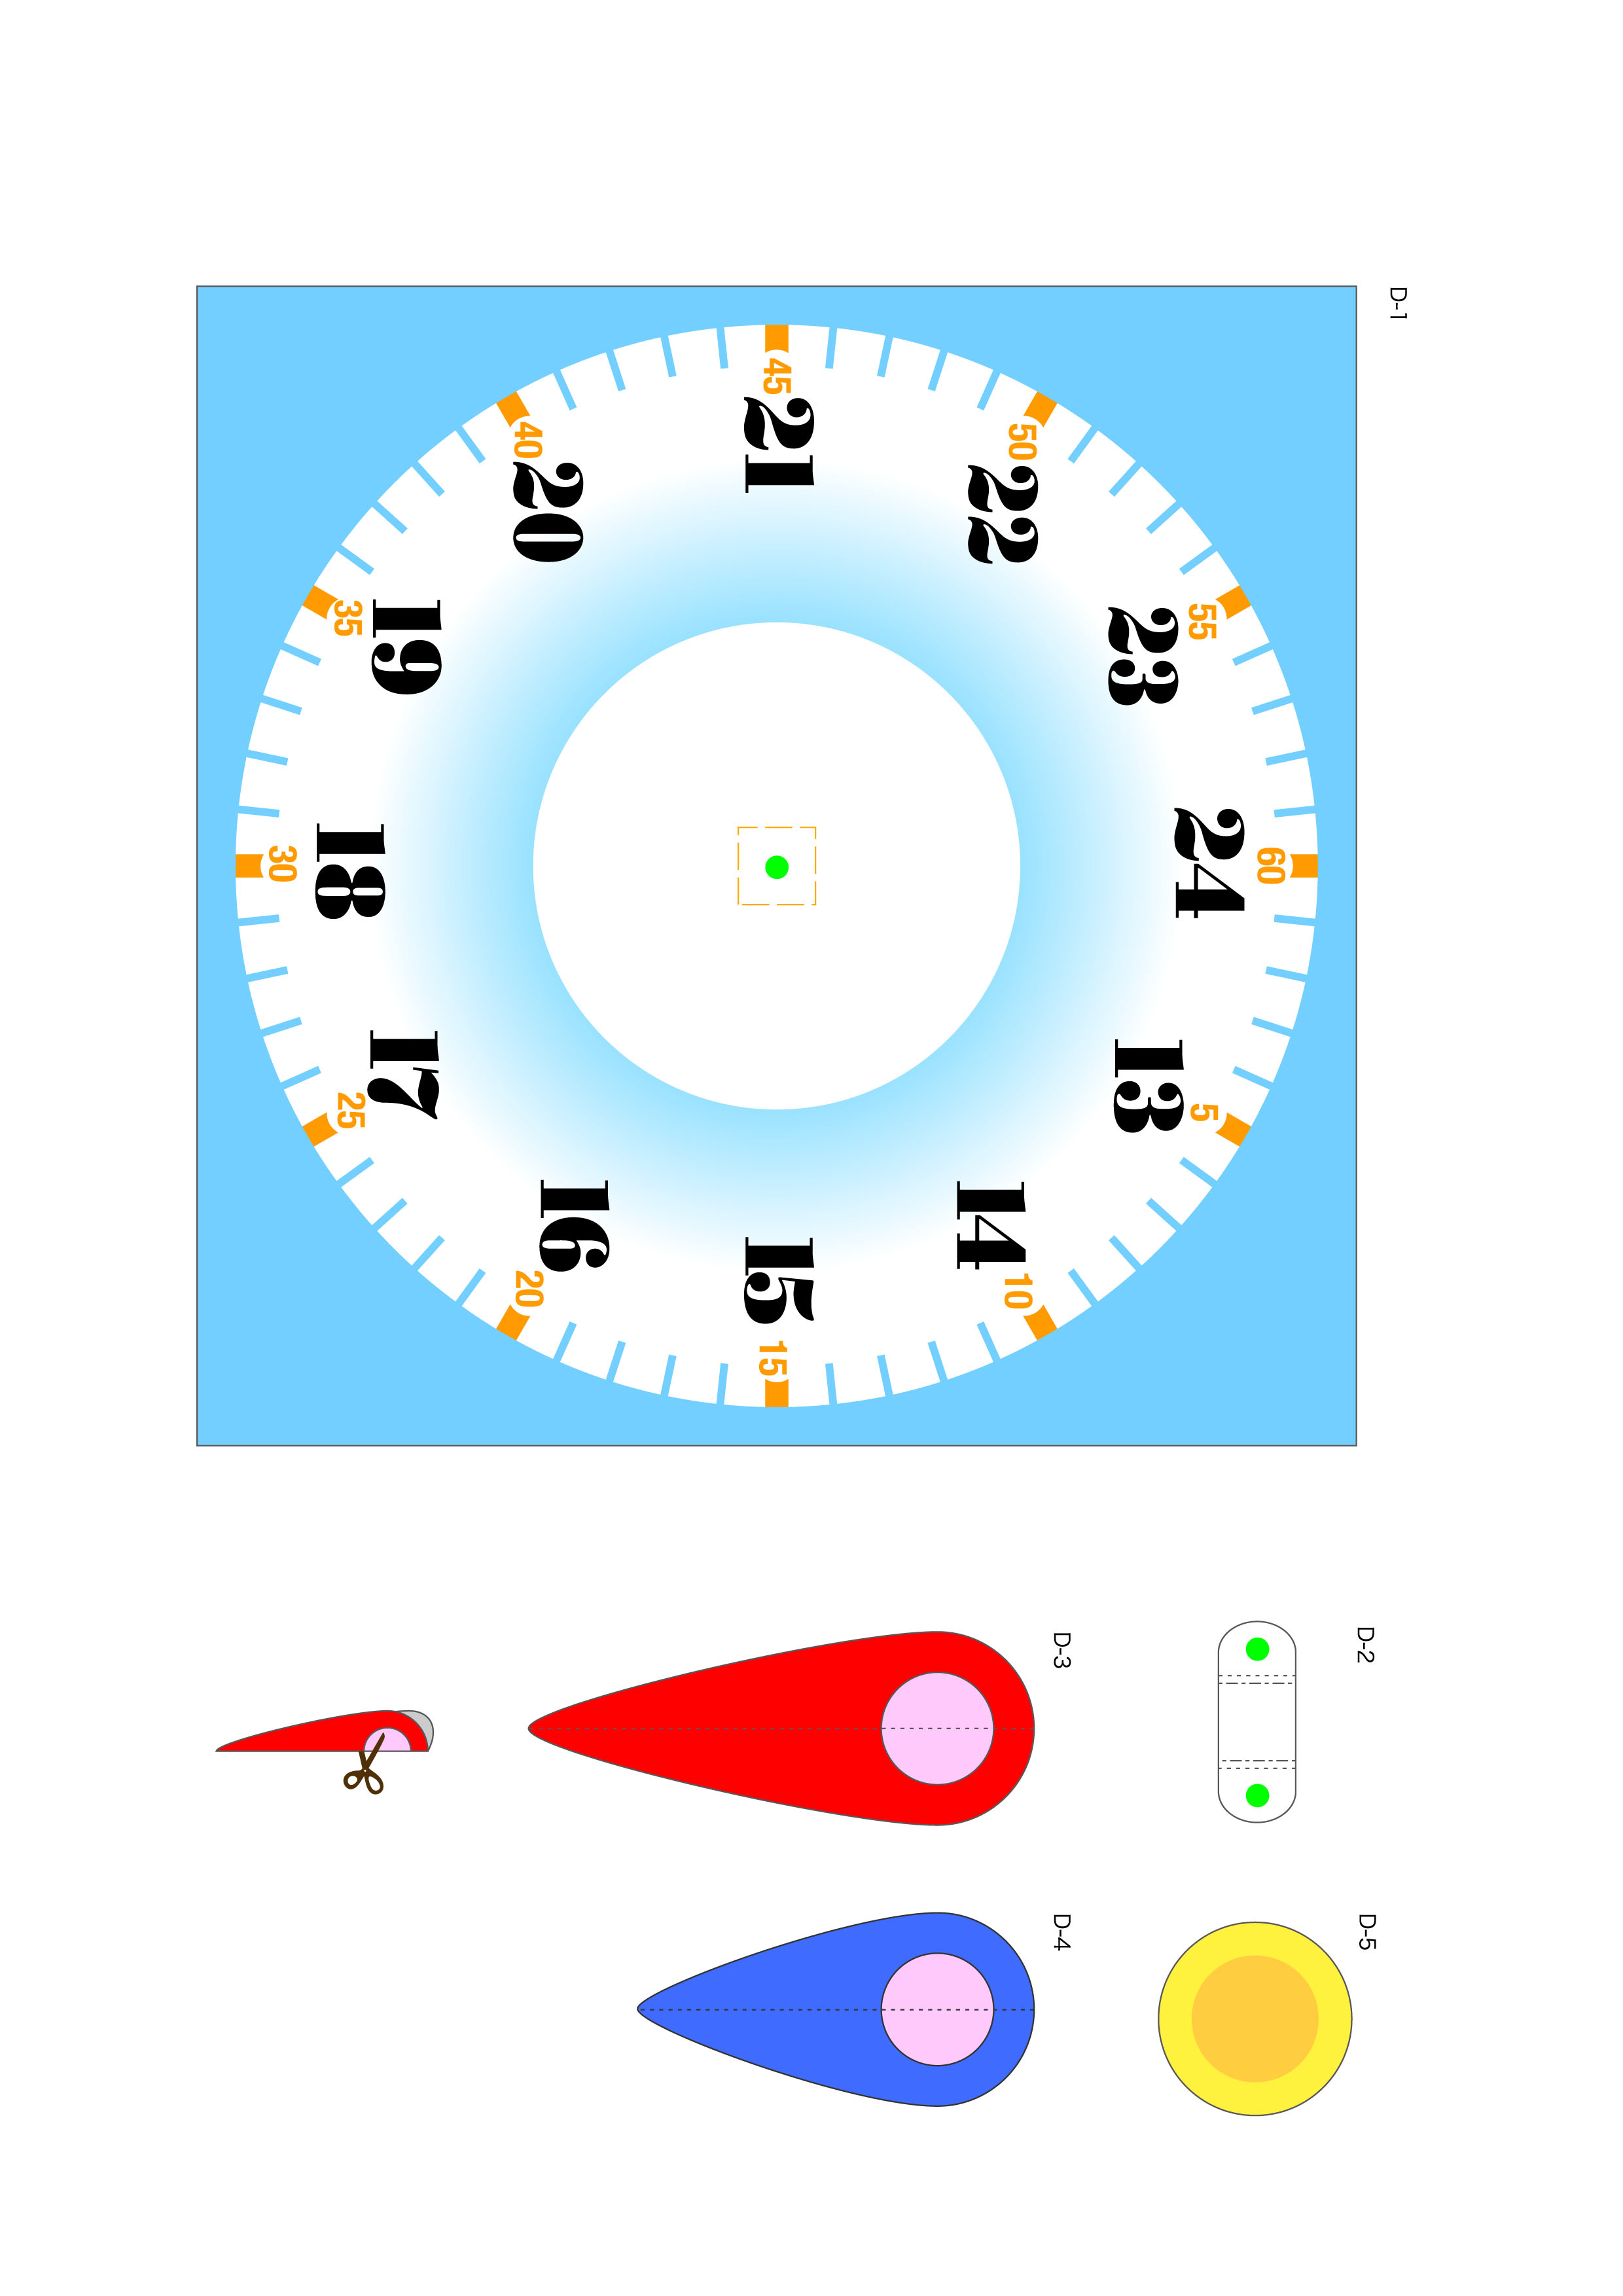 Template 07
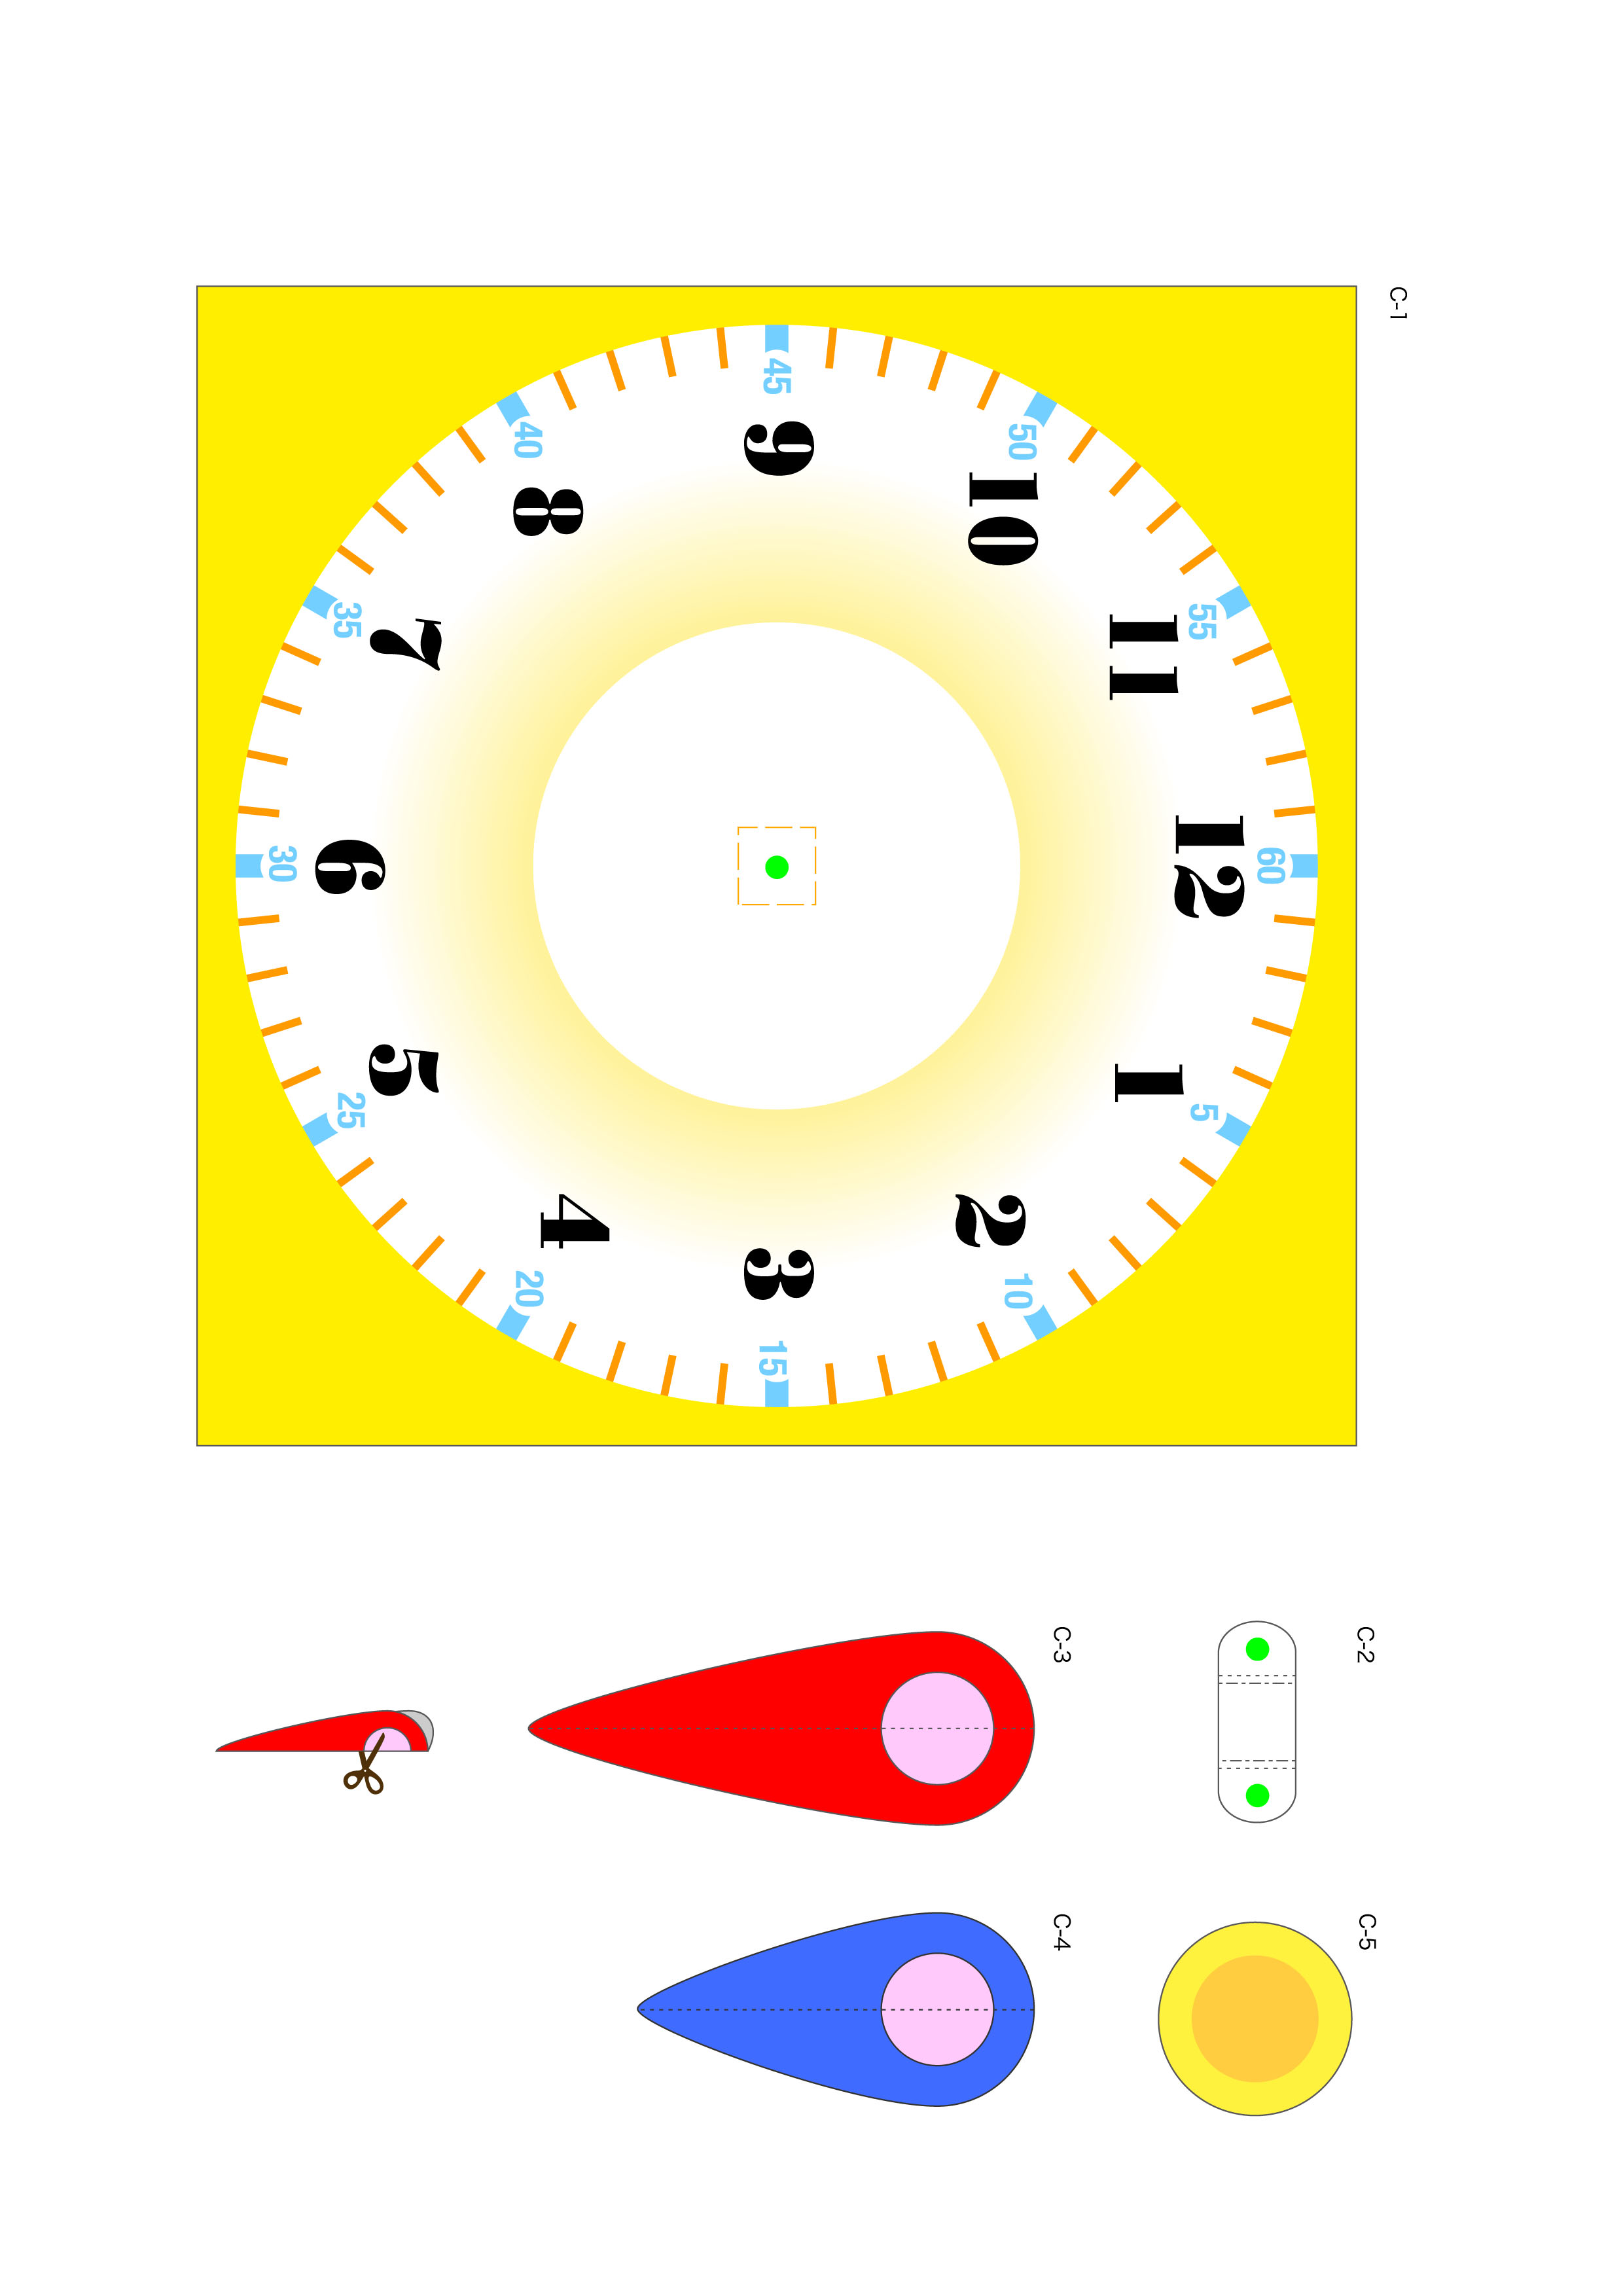 Template 08
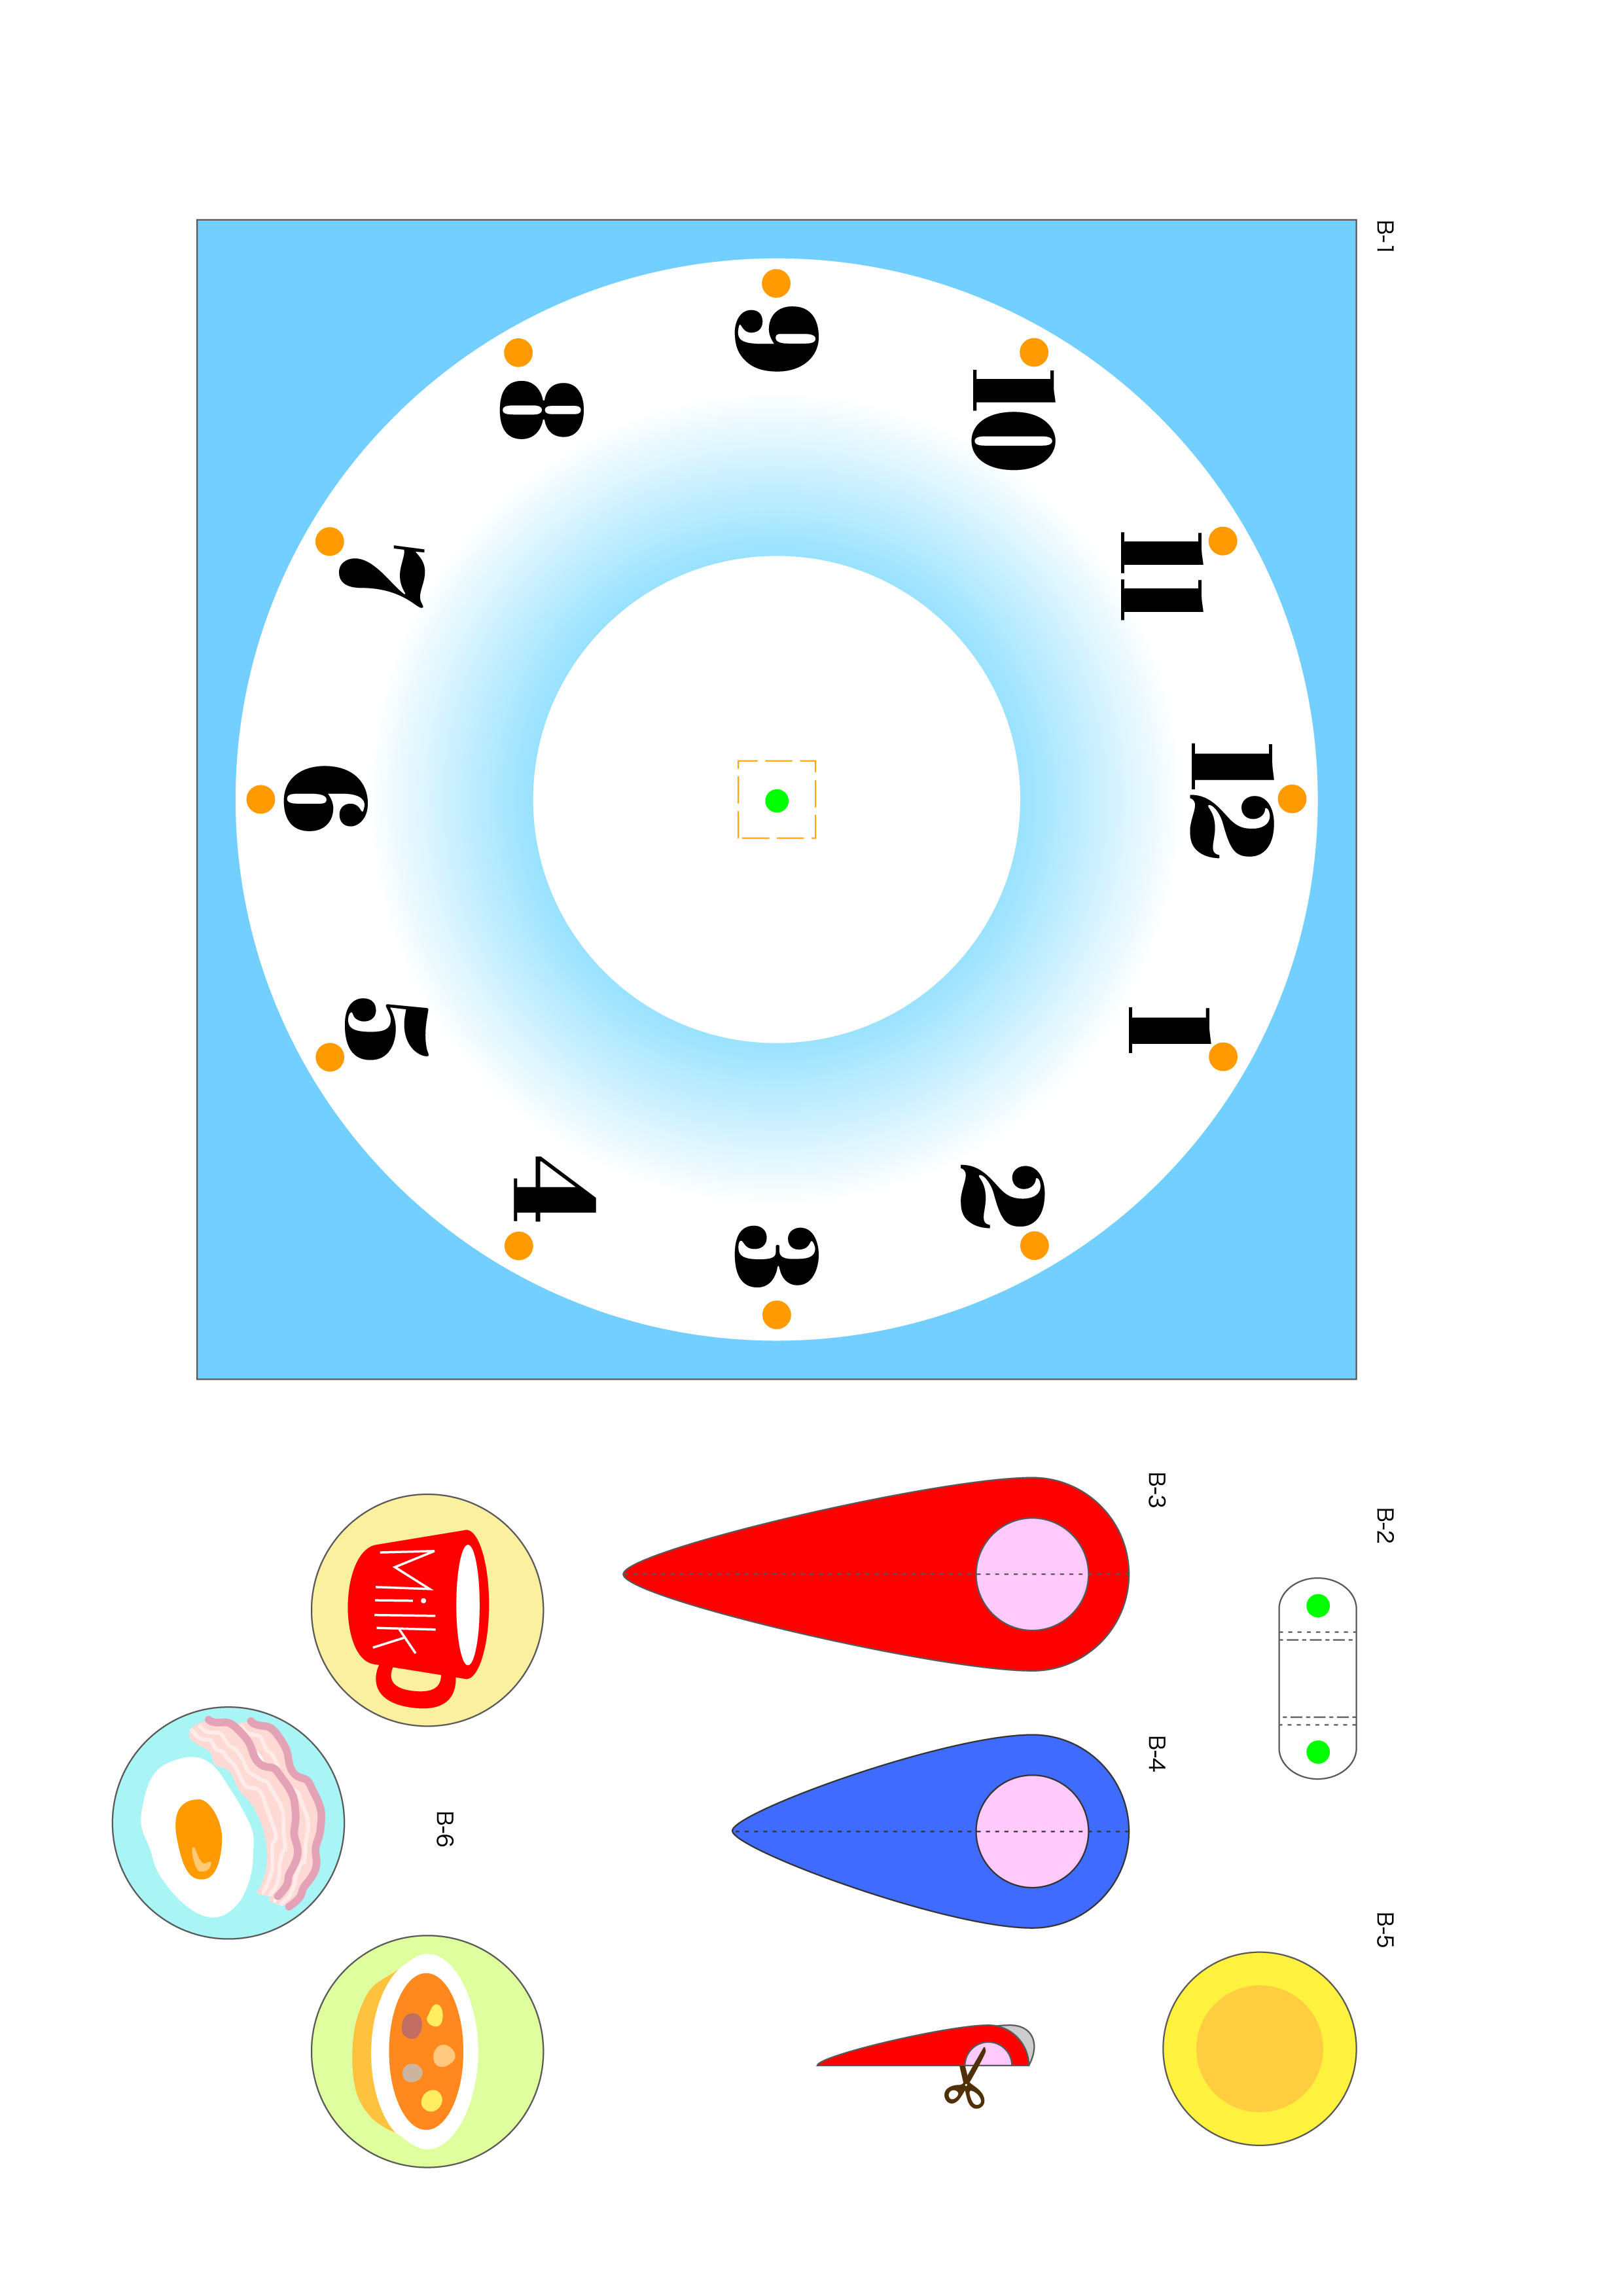 Template 09
 Template 10
The following instructions for paper clocks will help you not to make mistakes when gluing crafts.
Conclusion
Building a paper clock is a rewarding DIY project that perfectly balances entertainment with education. In just a few simple steps—printing, cutting, and pasting—you’ll transform a simple sheet of paper into a colorful, interactive timepiece. Grab your scissors, download the template, and enjoy crafting a one-of-a-kind clock today!
Related Posts:
- Drawings on the theme of Autumn

- Excel calendar
- Paper train: download, print, cut and glue

- Crosswords for kids: download and print
- Bird stencils

- Dinosaur from paper: download, cut and glue

- Paper roses in a box

- Spider template

- Paper house template

- Paper piano: print and glue

- Airplane stencil

- Happy Birthday Mary – 113 new images

Leave a Reply